Dr. Dickson: Workshop
Photoshop Filters to Create Buttons or Page Decoration
The general idea is that if you have access to a decent
image editor don’t ever just use a plain old realistic image on a website.
That’s really lame. Do something interesting. Play around a little bit. You can
create interesting buttons (little images that act as hyperlinks) or just some
nice graphics for a text-based page. See below for some ideas:
- Choose a realistic image by using Google Image Search
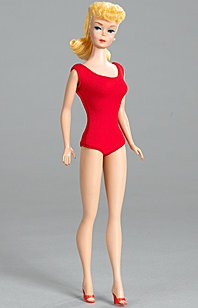
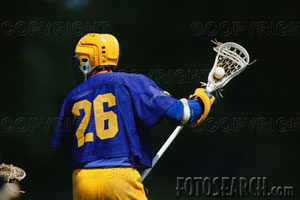
(or if you want, you can use the lacrosse player or the Barbie on this
page..scroll down). Save it to the desktop by right clicking on the image
and choosing "SAVE AS"
- Open it in Photoshop CS (preferably)
- Decide what emotion you want to evoke. Do you
want to make what the image conveys seem
o
Scarier? More intense?
o
Confusing?
o
Kinder and Gentler?
o
Idiotic/Ridiculous?
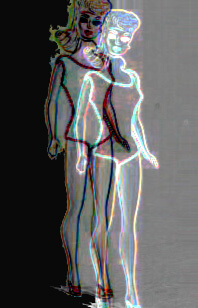
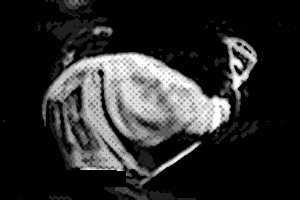
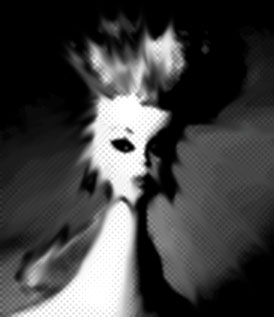
- If scarier, then you might want to Distort it and
make it Black and White and experiment with other effects. For instance, try
this series of steps:
- Go to the top menu bar and choose Distort and “Pinch”
- Push the “Amount” triangle way left.
- Go to your Layers Palette and Click on “Channels”
- Delete some channels till you got a black and white
image
- Go to Sketch and “Half-Tone” Pattern.
- Go to Stylize and add “Wind” OR go to Artistic and add
“Poster Edges”
Remember: You can always got
to Edit and Click STEP BACKWARD if you don't like something you've done!~
| Before |
After |
 |
 |
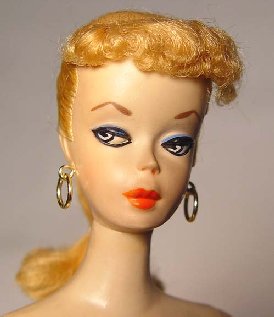
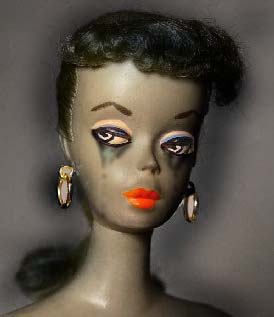
- If you want to convey that Barbie makes you confused,
then here are some options for you:
- Go to BrushStrokes and “Spatter” OR
- Go to Render and “Lens Flare” Set the cross hairs on
her earring (and choose “Movie Prime”) OR
- Go to Render and “Lighting Effects” and take the
“Ambience” up really high AND
- Go to Brushstrokes and “Accented Edges” and play
around with that.
- Optional: Use the eraser tool to erase her eyes and
then: add layers with question marks and place those inside her eyes….Add
layers with Shapes and then change the color of those shapes to one of the
styles by clicking on the layer and clicking on the style.
| Before |
After |
 |
 |
6. If you want to make something cold look kinder and gentler, you might try
these steps:
- Go to the Other option (at the bottom) and pick
“High Pass”
- Go to Artistic option and pick “Film Grain”
- Go to Render and pick “Lens Flare” (and place
cross-hairs on a central object)
| Before |
After |
|
 |
 click here for a website with this image as
decoration
 |
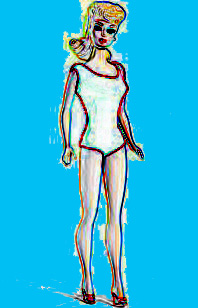
7. If you want something to appear ridiculous, then:
- Go to Distort and pick “Sheer” or “Spherize” OR
- Go to Stylize and “Find Edges” (and use the magic wand
tool and paint bucket to color the sides) OR
- Go to Style and “Find Edges” and then “Emboss” (and use
the magic wand tool and paint bucket to color the sides)
|
Before |
After |
|
 |
 |
OR
Others....
Barbie, Warrior Queen of the Fuyerats of Byzantanople:
| Before |
After |
|

|
 |
More
photoshop tutorials (these are really good)


